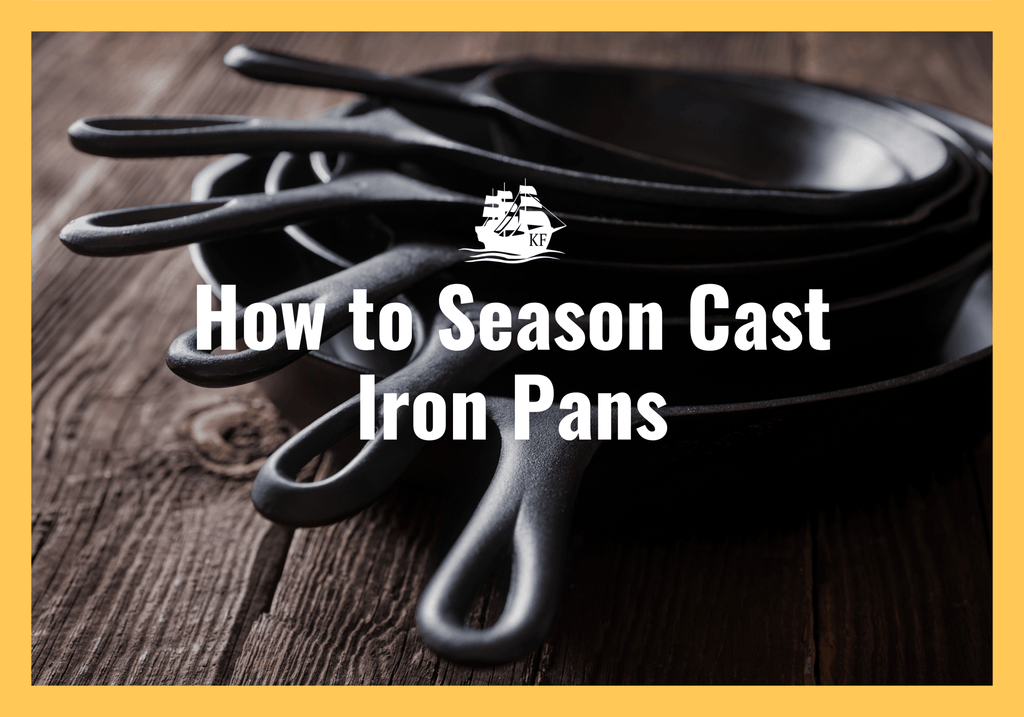
Hello, home chefs and food-fans! Today, we're delving into the world of cast iron pans with a basic guide on seasoning. Properly seasoning your cast iron pans can significantly enhance their performance and longevity!
Step 1: Gather Up Your Collection
Before we begin, gather your cast iron pans. Take stock of what you have and prepare them for the seasoning process. Each pan has its own character, waiting to be revived and brought back to its former glory, but maybe not all of them need to be re-seasoned! You’ll have to use your own judgement, but a good rule of thumb is that if you have any doubts, just re-season it!
Step 2: Scrub and Clean
The first step in oven seasoning is to ensure your pans are clean. Use something like a stiff brush and some warm water to scrub away any food residue or rust. This step is crucial in preparing a clean surface for seasoning.
Step 3: Drying
Once cleaned, it's time to eliminate any moisture from the pans. Preheat your oven to around 325°F (163°C) and place the pans upside-down on the middle rack. To catch any drips, lay aluminum foil on the lower rack. Bake the pans for approximately 15 minutes until they are completely dry.
Step 4: Oiling
Now that the pans are dry, it's time to apply a thin layer of oil. Choose from options such as vegetable oil, canola oil, flaxseed oil, or melted shortening. Use a cloth or paper towel to evenly coat the entire surface of each pan. The oil acts as a protective barrier and aids in creating a non-stick surface.
Step 5: Baking (It will get smoky! Open the windows!)
It’s time to bake to create Polymerization! With the pans properly oiled, send them back in for another trip to the oven. Increase the oven temperature to 450°F (232°C) and place the pans upside-down on the top rack. Allow them to bake for approximately one hour, allowing the oils to polymerize and form a seasoned coating.
Step 6: Cooling (Slowly!)
After the baking is complete, turn off the oven and let the pans cool naturally. As they reach room temperature, you'll notice the transformation, appreciating the seasoned finish that enhances their performance.
Step 7: Success!
Embrace the Seasoned Pans Congratulations! You've successfully seasoned your cast iron pans in the oven. Embrace the benefits of your efforts and put them to good use in the kitchen. It is important to note that if you don’t see a nice consistent patina after this process, that you can REPEAT STEP 4-6 until you are satisfied with the seasoning!
By following these simple steps, you can master the art of oven seasoning for your cast iron pans. Remember to clean, oil, and bake the pans whenever necessary, and they will reward you with many years of reliable service. So go forth, unleash your culinary creativity, and savor the delights of cooking with well-seasoned cast iron pans.


Leave a comment: